How to integrate MailChimp signup form with Blogger website?
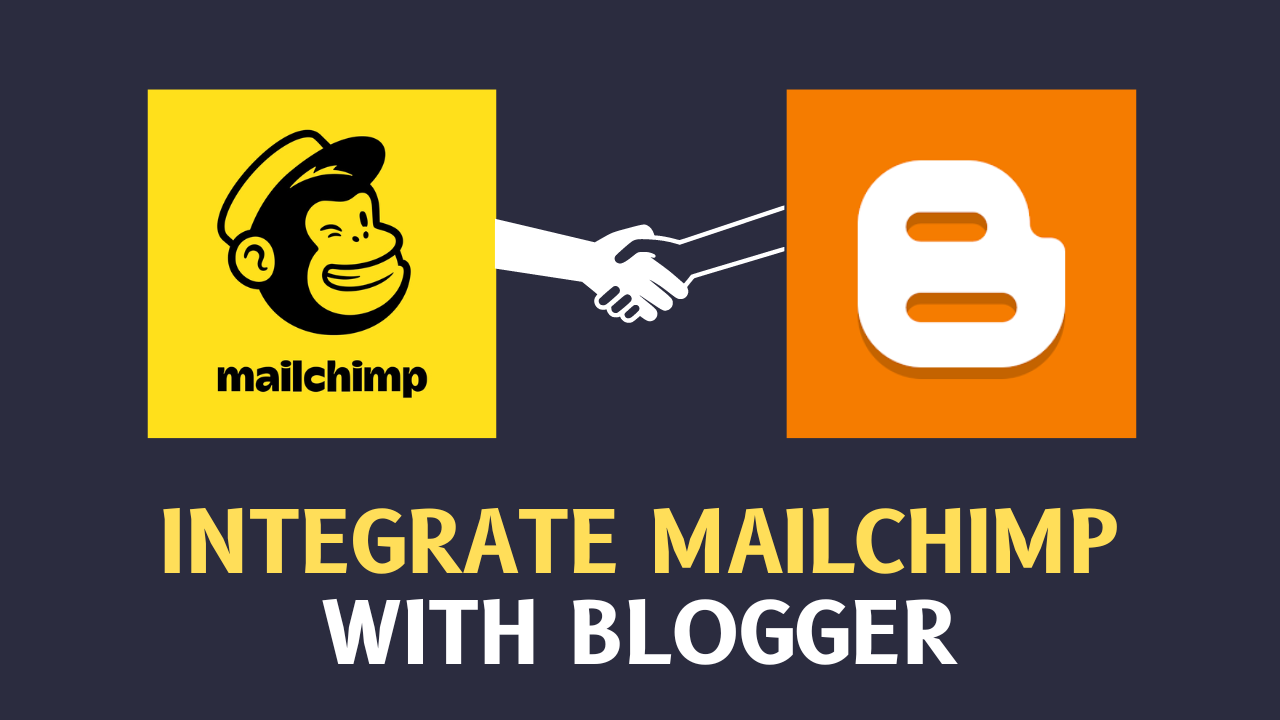
Want to integrate the Mailchimp Email signup form with the Blogger website? Then follow the simple step-by-step guide.
Email marketing is a good way to drive consistent traffic to your blog and on the Blogger website, most of the users use Feedburner for that. But Feedburner is an outdated tool that does not provide that much flexibility and automation features.
That’s why in this article, I will guide you on how to integrate Mailchimp with the Blogger website and create a beautiful signup form for your email marketing.
So, we are going to use the free tools available in the market and the free account of MailChimp which currently supports 2000 subscribers. I also show you how to add an Email popup form and sidebar widgets using the Mailchimp platform.
So, if you are new to our website consider subscribing to our newsletter for more interesting Bloggers guides like this.
So, Let’s start.
Steps to Integrate Mailchimp with Blogger
#1: Create a Free Mailchimp Account
Go to the Mailchimp website and click on the signUp Free button in the top right corner.

Now fillup the form and confirm your Email id.
Now select your free plan and set up the basic settings.
#2 Create Signup form in Addthis website
Now Go to Addthis website and create a free account. Now paste the AddThis code just above the </body> tag.
I have shared the steps on how to set up add this account in our previous floating share button guide.

Now go to the Tools section and select add new button. Then select the List building option as shown in the below image.
Now in the Email Service select Mailchimp and authorize addthis website for integration.

#3 Design Email signup form
Now design your Subscription form using this tool. You can change the headline and button text, form color, and the default position for devices like Desktop and mobile devices.
You can also set how frequently the subscribe form will appear and you can exclude certain pages for this. You can also redirect users to a new page after submitting their Email in the signup form.
So, when someone fillup the form the name and Email address will be added to your Mailchimp account. After that, you can easily send them automated emails. This is the easiest way to add a subscribe button to the Blogger website.
Conclusion
You can also directly generate subscribe form to add to your sidebar but it is not that responsive and looks very basic. So, you can use the addthis tool to integrate your Mailchimp account with the Blogger website.
In the next post, we will learn how to design the default Feedburner widgets in Blogger to attract more email signup.
If you like this guide, do share it on social media and share your feedback in the comment section. Thank you.👍
Read Also: How to add a responsive table to the Blogger website.