How to Add a Responsive Hero section in Blogger website.
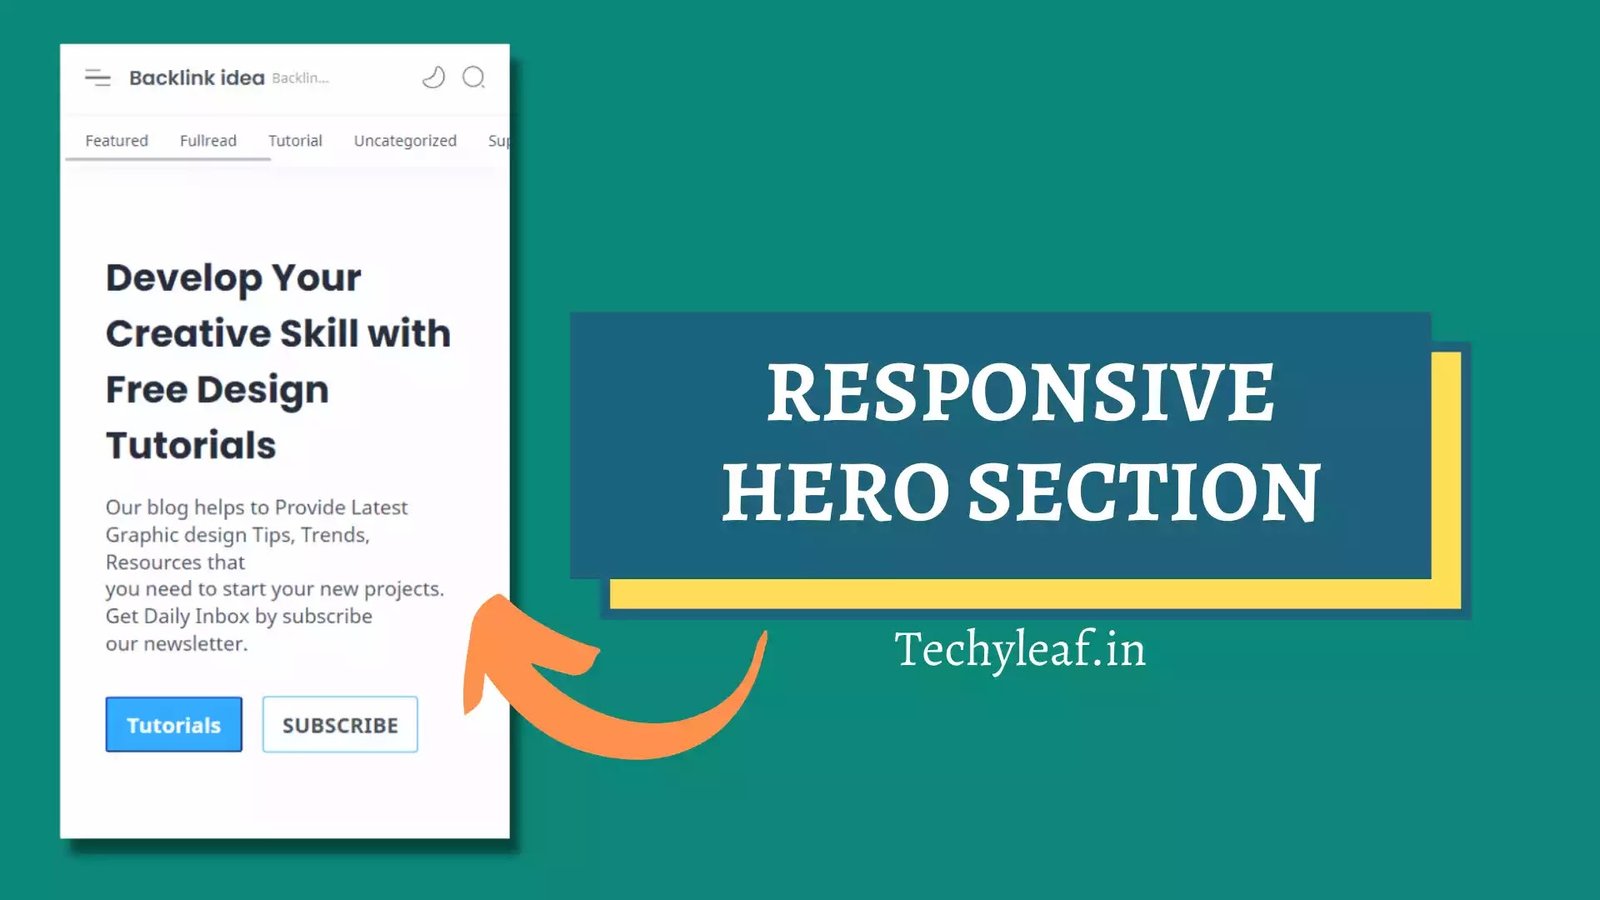
In this article, I will show you how you can add a responsive hero section to your blogger website and make it looks professional.
Generally we don’t get a custom hero section in most of the blogger themes and we got traditional blog posts list which looks outdated.
So, to enhance the look and feel of blogger website, I have designed a custom hero section that you can use in any blogger theme.
For this, you need to create a blank HTML widget below the navigation header.
what is a hero section and why it is important
A Hero section is the area that shows up immediately after the navigation menu which is generally set to full width and content the key element of a website.
It includes information about
- What you have to offer
- Why people should trust you
- The benefits of working with you
- What action they should take next
It helps your brand stand out from others and user can easily navigate to the important section of your website. It also helps you boost your conversion in website.
Let’s suppose you are running a blog and you want your user to signup a newsletter. So, in this case, in you can add a newsletter form or button in the hero section and encourage your visitors to signup your newsletter.
How to Design a Great Hero Section
- Create a Powerful Headline
- Follow It Up with a Strong Subheading
- Include a Call-to-Action
- Use a Captivating Hero Image or Video
Let’s check how you can add the newsletter button in Blogger website.
Steps to add a Responsive Hero section in Blogger

To add the hero section in blogger follow the below steps
1. Go to Blogger layout section and find out the hero section.
2. Now click on add Gadgets option and select the custom HTML/JavaScript option
3. Now paste the below HTML code in the box and edit the content.
<div class='hero'>
<div class='hero-items'>
<h2> Develop Your Creative Skill with <br/> Free Design Tutorials</h2>
<p>Our blog helps to Provide Latest Graphic design Tips, Trends, Resources that <br/> you need to start your new projects.  Get Daily Inbox by subscribe <br/> our newsletter.</p>
<div class='butto'>
<button id='full'
    onclick="window.location.href = '#';">
        Click Here
    </button>

<button id='outline'
    onclick="window.location.href = 'https://example.com';">
        Wordpress
    </button>
</div>
</div>
</div>
4. Now copy the below CSS code and paste it just below the HTML code.
<style>
/* hero items */
.hero {
background-color: inherit;
}
.hero-items {
display: flex;
padding: 1rem 0;
flex-direction: column;
align-items: center;
text-align: center;
margin: 0 1rem;
}
.hero-items h2 {
font-size: 50px;
font-weight: 800;
width: 850px;
}
.hero p {
font-size: 17px;
font-weight: 500;
margin: 1rem 0;
}
.hero button{
padding: 1rem 4rem;
font-size: 17px;
font-weight: 600;
color: #fff;
border-radius: 3px;
transition: all 0.2s ease-in;
margin: 1rem 0;
border-color: #204ecf;
}
.hero button:hover{
cursor: pointer;
background: rgb(80, 148, 252);
transition: all 0.2s ease-in;
}
.butto{
display: flex;
gap: 1rem;
}
#full{
background: rgb(49, 172, 255);
}
#outline{
background: none;
border: 1px solid rgb(49, 173, 255);
color: inherit;
}
#outline:hover{
background: rgb(49, 173, 255);
color: #fff;
}
@media(max-width: 780px){
.hero h2{
font-size: 40px;
width: 100%;
}
}
@media(max-width: 400px){
.hero-items{
align-items: flex-start;
text-align: left;
}
.hero h2{
font-size: 30px;
}
.hero p{
font-size: 16px;
}
.hero button{
padding: 9px 15px;
}
}
</style>
5. Now save the code and the hero section is added to your blogger website.
Updated video Guide

In some cases, you need to modify the theme code to create an additional HTML slot in the layout. Watch the video carefully to know how to do that.
And if you have still doubts then you can ask me in the comment section. Or you can join our Telegram discussion group.
Also, don’t forget to Subscribe Key2blogging YouTube channel for more upcoming tutorials like this.
Helpful resources:


hi bro you write awesome post. thanks
Fletro pro theme
Which blogger Template you are using in this website?
Hey, I have already shown in this video that you have to increase the max widgets and show add element to true. Just find the widget in theme code.
How to create blank html widget below nevigation header in eventmug theme ?
May be you have added in wrong places. Or you can add blogger conditional code to display only on homepage. Check this video Tutorials on Our YouTube channel.
Thanks… I have solved my issue… Thanks a lot
My Hero section show in every page and post…why