How To Add Audio File To Blogger Website [Updated Method]
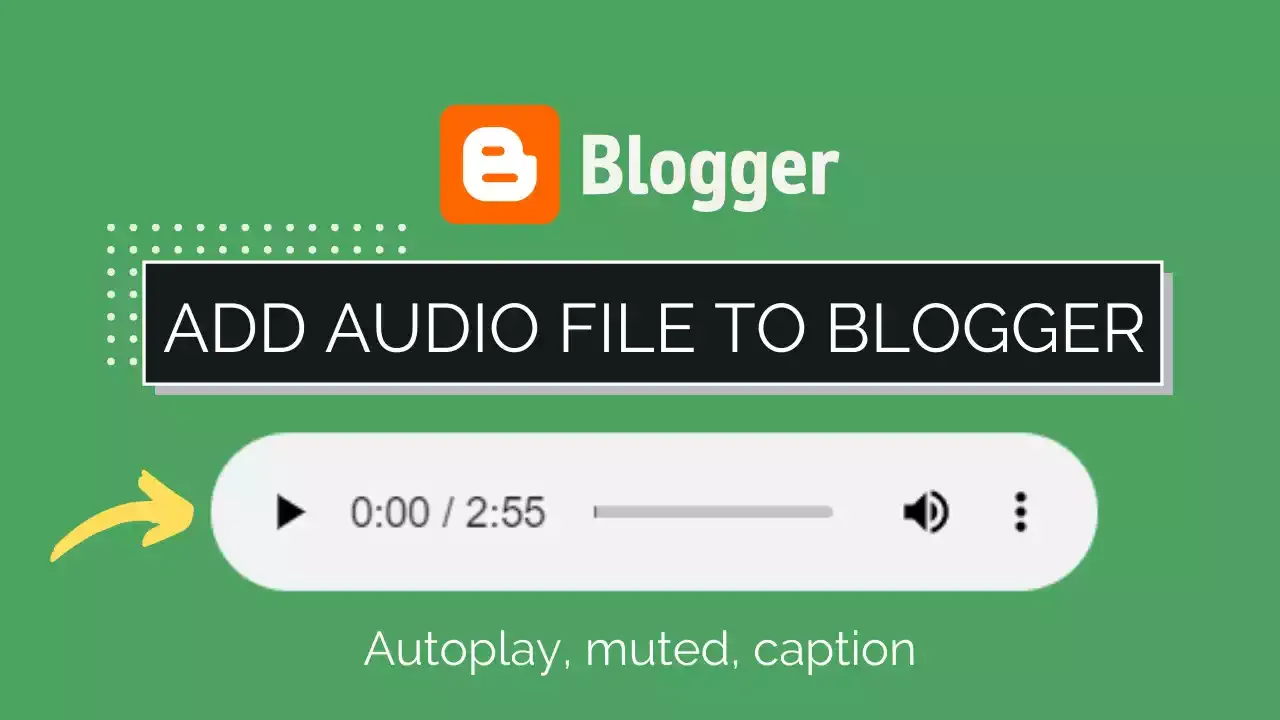
In this article, I will show you how to upload audio files in blogger and set this to autoplay mode. Here in this method, users can easily control media playback, change the volume, and even download the audio file.
There are two ways you can add audio files in Blogger. One is by the traditional iframe method and the other by the audio tag method.
How to add an mp3 audio player in Blogger?

To add an audio file in Blogger, you have to host the mp3 file in cloud storage and then add this to any one of the below methods.
Method-1: using Audio iframe
You can embed an mp3 audio file to your blogger website by using the traditional HTML audio iframe method.
#1: First of all Go to your Google Drive account and upload the audio file from the computer.
#2: Now right-click on the file and click on the “get link” option.
#3: Here change the permission from restricted to Public (anyone with the link) and copy the file link.

#4: Now copy the below iframe code and replace it with your own file id.
<iframe   src='https://drive.google.com/file/d/1blUyIowvHpBEAGuPwqJTBnYP0IxkSZl4/preview?usp=sharing'
   width='100%'
   frameborder='0'
/>
Here the file id is “1blUyIowvHpBEAGuPwqJTBnYP0IxkSZl4“. Change it with your own file ID.
Or you can replace the whole URL with your own URL and change the “view” to “preview” in the URL.
#5: Now paste the whole code in the HTML section of your blog post and save the changes.
Now, you have successfully added an audio iframe to your blogger website.
Method-2: using HTML Audio tag
You can add an audio file in Blogger with a download option using the audio tag introduced in HTML 5. Here in this method, the audio player looks minimalist and professional.
Here also, you have to follow the same method of uploading the audio file in Cloud storage like Google Drive and add the HTML code.
#1: First copy the file link from Google Drive in a notepad.
#2: Now copy the below HTML code and replace it with your file id.
<audio controls>
  <source src="https://drive.google.com/uc?export=download&id=1blUyIowvHpBEAGuPwqJTBnYP0IxkSZl4" type="audio/mpeg"/>
</audio>
#3: Now paste the code in the HTML section of your blog post and hit the publish button.
Here, note that you have to use the Google Drive direct Link instead of the preview link in the Source field (src). You can use our G-Drive Direct Link Generator tool for that.
Note: If the Google Drive Link is not working then you can use other cloud storage Like GitHub to store your Mp3 files and use that as a source Link. (Check the Updated Video below)
Customize the Audio player options.
You can further customize the audio player by adding some attributes like autoplay, loop, muted, etc in the audio tag. You can also customize the audio player using CSS and add a caption above the audio player.
Add Autoplay mp3 audio Player
Just add an autoplay attribute after the controls in the audion tag as shown below.
<audio controls autoplay muted >
  <source src="https://drive.google.com/uc?export=download&id=1blUyIowvHpBEAGuPwqJTBnYP0IxkSZl4" type="audio/mpeg"/>
</audio>
You can also set autoplay and muted playback by adding the “muted” attribute after autoplay.
Here note that some chromium-browser like Chrome blocks autoplay functionality in some cases to maintain a better user experience.
You can also set the width of the audio player by adding an inline style element like this.
<audio controls autoplay style="width: 60%;">
  <source src="https://drive.google.com/uc?export=download&id=1blUyIowvHpBEAGuPwqJTBnYP0IxkSZl4" type="audio/mpeg"/>
</audio>
Here you can change the width of the audio player by changing the value. (here 60%)
Add a caption to the audio file
You can set a caption to your audio file by adding a caption in the format as shown in the below code.
<figure >
    <figcaption>Listen to the the audio file</figcaption>
    <audio controls
        src="https://drive.google.com/uc?export=download&id=1blUyIowvHpBEAGuPwqJTBnYP0IxkSZl4" type="audio/mpeg">
            Your browser does not support the audio element.
    </audio>
</figure>
<style>figure {margin: 0;} </style>
You can check the preview here.

Remove the Download Button from the Audio player.
This is one of the most requested features for the audio player. Some websites don’t want their users to download the music. They just want the music to play online only. In that case, you can remove the download button from the audio player.
To remove the download button from the audio player, add a small code snippet after the controls. Just add the code controlsList=”nodownload”
<audio controls controlsList="nodownload"><source src="audio.mp3" type="audio/mpeg"></audio>
Here is the list of attributes that can be used in the HTML 5 Audio Tag.
| No | Attribute | Description |
|---|---|---|
| 1 | controls | It defines the audio controls which is displayed with play/pause buttons. |
| 2 | autoplay | It specifies that the audio will start playing as soon as it is ready. |
| 3 | loop | Specifies that the audio will start over again, every time it is finished |
| 4 | muted | It is used to mute the audio output. |
| 5 | src | Specifies the URL of the audio file |
| 6 | title | Sets a title that displays as a tooltip. |
| 7 | controlsList=”nodownload” | Remove the download option from the audio player. |
Video Guide (Updated)

Conclusion
Now you have learned how to add an mp3 audio file to the blogger and customize the audio player. If you have any doubt regarding Blogger, you can ask me in the comment section or join our Telegram discussion group.
Read Also: How to Lazy load embedded YouTube videos in Blogger?


You made my day 😀
Go to Auto Ads settings and you will see the option to enable vignette Ads.
Nice, finally.
Btw how did you add vignette to your ads?
When ever you are using auto play attribute, you have to use the muted option, otherwise it will not work in chrome browsers. As Google chrome doesn't play audio without user interaction. ( I have updated the article, check Now)
Thank you for sharing In my case, The image is uploaded, but the file playback (auto-play) does not work at all.
Currently (April 2024), the iframe method is the only one working fine.
Google has stopped the embedding of Audio file from Google Drive, If you store the audio file in other cloud storage or sites like Github, You can easily use that source link on your HTML Audio player.
How can I add multiple radio channels to my blogger website? I will be very helpful if you explain to me.
I am waiting for your help.
Thank you so muchhhhh! I was using gg drive link and it wasn’t working but the github method worked!