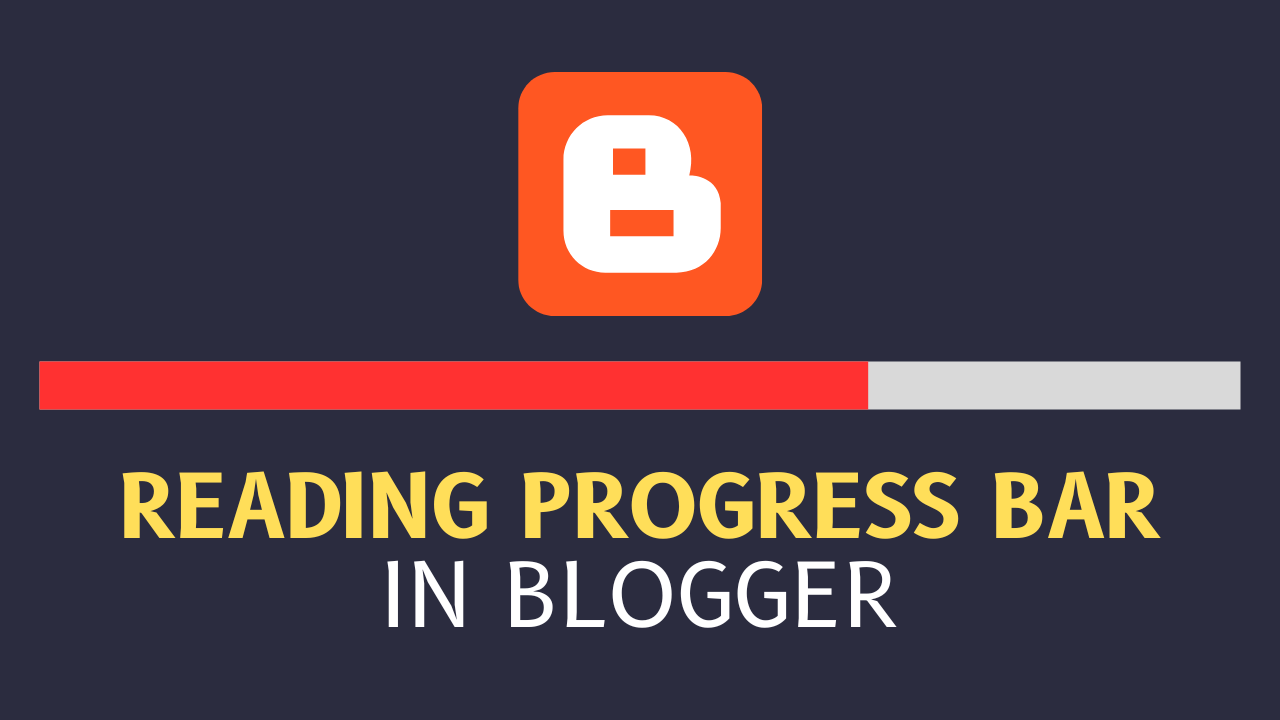
How to Add Reading Progress Bar in Blogger
As a blogger, you know how important it is to keep your readers engaged and interested in your content. One way to achieve this is by adding a reading progress bar to your blog.
This handy feature lets your readers know how far they’ve progressed through your article and gives them a sense of accomplishment as they get closer to the end.
In this blog post, we’ll walk you through the steps to add a reading progress bar to your Blogger site, so you can enhance your readers’ experience and keep them coming back for more.
Now you can easily add a reading progress bar to the blogger website just by applying simple coding in the theme section.
Here we provide you with the universal code to add a progress bar to any blogger blog website. This is just a similar reading Progress bar you see on a WordPress website. It won’t slow down your Page loading speed.
Why do you need a Reading progress bar on a website?
A reading progress bar on the website helps the user understand the length of any post and grab attention to your website. It also helps in attracting user interaction and eventually reduces your bounce rate.
Nowadays most users prefer to scroll through the articles and scan the headings and other important parts of the website. No one wants to read long blog posts and their attention span is very low.
So, adding a reading progress bar helps readers understand the content better and users want to read the content for longer times. Eventually, it helps boost your AdSense revenue.
You can also style your default scrolling bar on the Blogger website using CSS codes.
So, let’s check how you can add the progress bar to your blogger website.
Steps to add a Reading progress bar in blogger
Before proceeding with any of these steps given below to make sure to take a back-up of your theme in case you make a little mistake in implementing the code then you can easily back to the original state.
You need to follow three steps to add the reading progress bar to your blogger website.
Step-1: Copy the below javascript and paste it above the closing body tag </body>
<script>window.onscroll = function() {myFunction()};function myFunction(){var winScroll = document.body.scrollTop || document.documentElement.scrollTop;var height = document.documentElement.scrollHeight - document.documentElement.clientHeight;var scrolled = (winScroll / height) * 100;document.getElementById("myBar").style.width = scrolled + "%";}</script> STEP 2: After that copy the below CSS and paste it above the ]]></b:skin>
.progress-container{width:100%;position:fixed;z-index:99}.progress-bar{height:5px;background:#F86152}STEP 3: Paste the HTML code just below the <body> tag (In some templates this tag would be adjoined with class or schema, so search for only <body )
<div class='progress-container'><div class='progress-bar' id='myBar'/></div>
Now you complete all the necessary steps. Just save your theme and your reading progress bar is ready.
you can do further customization if you want like changing the color of the progress bar.
just change the color code in step-2 background:#F86152 and replace it with your color code. You can get the color codes (hex codes) from the HTMLcolorcodes website.
You can also change the size of your progress bar by changing height:5px to your preferred size.
Video Guide: 👇

How to show the progress bar in posts only?
If you want to show the progress bar only in the blog posts then you can use the blogger conditional tag in the above code.
Here, you can wrap the step 1 and step 3 code with the conditional Tags and paste it above the </body> tag.
<b:if cond='data:view.isPost'> <--Insert code here--> </b:if>
Reading Progress bar code (EASY)
You can also use the below code for the reading progress bar in blogger. Just paste the code just above the </body> tag.
<style>
#site-navigation{margin-top:10px!important;}
.reading-meter {position: fixed;top: 0!important;z-index: 1111;width: 100%;background-color: #f1f1f1;}
.K2progress {width: 100%;height: 7px; z-index: 1111;background: #ccc;}
.progress-bar {height: 7px;background-color:tomato;width: 0%;}
</style>
<div class='reading-meter'><div class='K2progress'><div class='progress-bar' id='myBar'/></div> </div>
<script>
window.onscroll = function() {myFunction()};
function myFunction() {
var winScroll = document.body.scrollTop || document.documentElement.scrollTop;
var height = document.documentElement.scrollHeight - document.documentElement.clientHeight;
var scrolled = (winScroll / height) * 100;
document.getElementById("myBar").style.width = scrolled + "%";
}
</script>Conclusion:
Follow the above steps with a little caution and you can easily add the reading progress bar to your Blogger website. if you face any type of problem while doing this you can contact me through Email.
If you find this article helpful then you can share it with your blogger friend and tell your feedback in the comment section.
Join our Telegram group here: click here to join